
Why Use a Heatsink Thermal Pad?

Why Use a Heatsink Thermal Pad?

Modern processors, power modules, and LED systems generate heat in seconds. Their metal surfaces may look flat, yet microscopic gaps remain between a chip and heatsink. Air fills those gaps. Air also conducts heat poorly. A Heatsink Thermal Pad fills the uneven contact area, reduces thermal resistance, and supports more stable operating temperatures. This simple layer can protect performance when a fan, enclosure, or workload changes unexpectedly.

Grand View Research reported that the global thermal interface materials market was valued at approximately USD 3.5 billion in 2023. The same report expects strong growth through 2030, driven by electric vehicles, data centers, and advanced electronics. MarketsandMarkets also identifies power electronics and computing as major demand areas. These figures show commercial momentum, but they do not guarantee every pad will work. Thickness, compression, surface roughness, thermal conductivity, and long-term pump-out behavior still matter.

Kaveh Azar, Ph.D., a respected thermal-management specialist, states, “Thermal design is a system problem, not merely a component choice.” That warning deserves attention. A high-conductivity pad can perform poorly if it is too thick or compressed unevenly. Check the datasheet. Measure the interface pressure. Inspect the contact imprint after testing. Small air pockets can remain visible around a heatsink edge.

The better choice is not always the softest pad. It is the pad that matches the actual assembly. That requires testing, not marketing claims. Sometimes, the first selection is wrong. That is useful evidence, not failure.
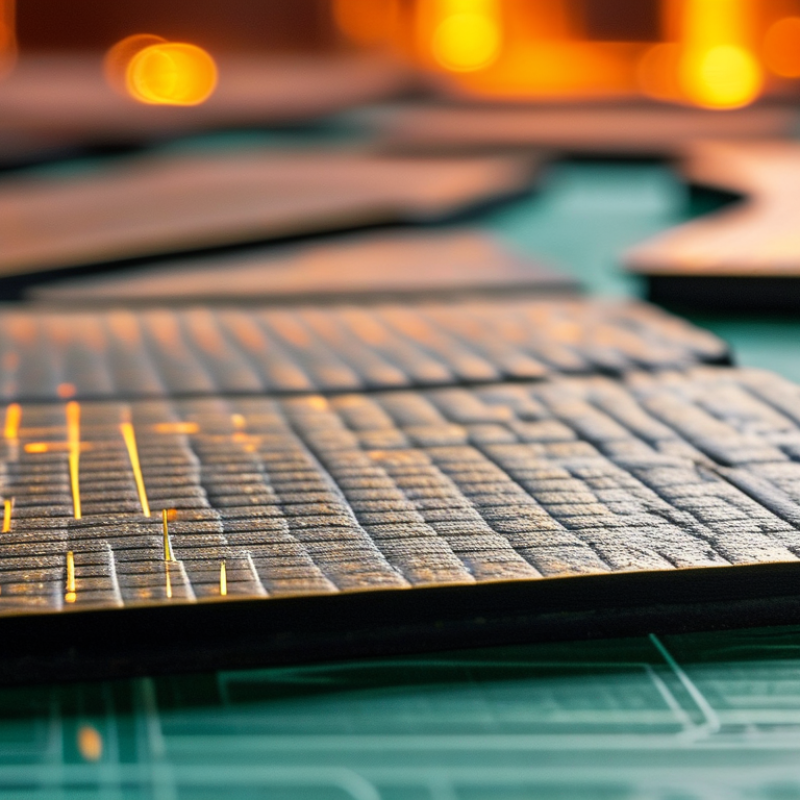
Why Use a Heatsink Thermal Pad?

What Is a Heatsink Thermal Pad?

What Is a Heatsink Thermal Pad?

A heatsink thermal pad is a soft, thermally conductive interface sheet. It sits between a hot component and a metal heatsink. Its main job is simple: replace trapped air with a better heat path. Air is a poor conductor. The pad also tolerates uneven surfaces, small gaps, and assembly movement. Many pads use silicone matrices with ceramic fillers. Most are electrically insulating, but that property must be verified. They are not ordinary foam.

This matters as computing loads rise. Lawrence Berkeley National Laboratory’s 2024 United States Data Center Energy Usage Report estimates U.S. data centers consumed 176 TWh in 2023. It projects 325–580 TWh by 2028. That demand makes small thermal resistances worth measuring. Uptime Institute’s 2024 Global Data Center Survey reported an average power usage effectiveness of 1.56. PUE includes cooling overhead, so interface quality is only one efficiency factor. Still, weak contact can raise component temperature quickly.

Select a pad by thermal impedance, thickness, compressibility, and voltage rating. A higher W/m·K value alone does not guarantee better cooling. If the pad is too thick, it may resist heat flow. If it is too thin, surface roughness can leave air pockets. During assembly, I look for even compression and full contact. The imprint often reveals more than a specification sheet. Do not overtighten. It can squeeze material away from the target area. I still treat published conductivity as a laboratory figure, not a promise. Real performance depends on pressure, aging, and installation.

How Thermal Pads Transfer Heat

A heatsink thermal pad transfers heat by creating a soft, conductive bridge between a hot component and a heatsink. Solid surfaces often look flat, but microscopic gaps remain between them. Air fills those gaps, and air conducts heat poorly. The pad replaces much of that trapped air with a material designed for thermal conduction.

Heat moves from the component’s surface into the pad, then into the heatsink. Gentle compression helps the pad conform to scratches, uneven edges, and tiny surface voids. Thickness matters. A thicker pad may bridge a larger gap, but it usually adds more thermal resistance. A thinner pad can transfer heat better, yet it may not make full contact. This trade-off is easy to overlook.

During installation, I check the gap, remove protective films, and apply even pressure. A visible imprint can confirm contact, although it is not perfect evidence. I once assumed a pad was too thick because the heatsink felt warm. The real issue was uneven mounting pressure. Temperature readings improved after correcting the screw pattern. Pad performance also changes with compression, surface cleanliness, and operating temperature. Some materials soften over time, so a first test may not represent long-term behavior. A small air gap can still remain, quietly limiting heat flow.

Why Use a Heatsink Thermal Pad? - How Thermal Pads Transfer Heat

Data Dimension Typical Data or Range How It Affects Heat Transfer Practical Consideration
Primary Function Fills microscopic air gaps between a heat source and a heatsink Replaces trapped air with a material that conducts heat more effectively Useful when two surfaces are close but not perfectly flat or directly bonded
Typical Thermal Conductivity Approximately 1–15 W/m·K for common non-metallic pads Higher conductivity generally allows more heat to pass through the pad Compare conductivity at the intended thickness and operating temperature
Thermal Resistance R = t ÷ (k × A) Resistance decreases when the pad is thinner, more conductive, or has a larger contact area The quoted conductivity alone does not determine total thermal performance
Common Thicknesses About 0.5–5 mm A thicker pad bridges larger gaps but adds more conduction distance Choose the thinnest pad that can reliably fill the measured gap
Conformability Soft, compressible materials can conform to uneven surfaces Improves real contact by reducing air pockets at the interface Confirm that the pad can compress without damaging nearby components
Compression Range Often approximately 10–50%, depending on material and specification Compression helps the pad occupy surface irregularities and maintain contact Use the manufacturer’s recommended compression and clamping pressure
Electrical Insulation Many silicone- or polymer-based pads are electrically insulating Allows heat transfer while reducing the risk of electrical short circuits Verify dielectric strength when the pad touches exposed conductive parts
Temperature Capability Many general-purpose pads operate across roughly −40°C to 125°C Stable properties help maintain predictable thermal performance over time Select a rating that exceeds the complete operating temperature range
Contact Surface Quality Flat, clean, and smooth surfaces provide more consistent contact Reduces voids and lowers the interface contribution to total thermal resistance Remove dust, oil, protective films, and machining debris before assembly
Installation Method Usually installed with mechanical pressure; some pads include adhesive surfaces Clamping pressure improves contact and helps prevent movement An adhesive layer may simplify assembly but can add thermal resistance
Advantages Clean installation, gap filling, electrical isolation, and repeatable thickness Provides a practical thermal path without liquid application or curing Suitable for many power electronics, LED modules, memory devices, and control boards
Limitations Usually higher thermal resistance than a very thin, well-applied thermal compound The pad can restrict heat flow when it is too thick or insufficiently compressed Do not use a pad as a substitute for proper heatsink sizing and airflow
Best Selection Criteria Thermal conductivity, thickness, compression, temperature rating, insulation, and surface coverage Matching all factors produces a lower and more stable thermal path Evaluate the complete assembly rather than relying on one specification

Note: Values shown are typical engineering ranges for general thermal interface pads. Actual performance depends on pad construction, thickness, compression, contact area, surface flatness, and operating conditions.

Why Thermal Pads Improve Heatsink Contact

A heatsink works best when its base meets the component evenly. In practice, that contact is rarely perfect. Tiny scratches, machining marks, and uneven surfaces trap air between both parts. Air conducts heat poorly. A thermal pad fills these microscopic gaps and creates a more continuous path for heat transfer.

During hardware assembly, I have seen a pad improve contact even when the heatsink looked flat. The result depends on more than thermal conductivity. Correct thickness matters. A pad that is too thin may leave gaps, while excessive thickness can reduce mounting pressure. The material should compress enough to follow surface irregularities without losing stability. Shorter thermal paths usually transfer heat more effectively.

Thermal pads also help spread pressure across delicate components. They can reduce the risk of uneven contact caused by small height differences. However, a pad is not magic. I have sometimes focused too much on its conductivity and overlooked poor alignment or weak fastening. That was a useful mistake. Clean surfaces, suitable compression, and controlled screw pressure remain essential. Temperature measurements should confirm the installation, because real performance can differ from specifications. Over time, some pads may harden, shift, or lose compression. Checking the contact after repeated heating cycles can reveal problems that a quick installation test misses.

How to Choose the Right Thermal Pad

Why Use a Heatsink Thermal Pad?

How to Choose the Right Thermal Pad

A heatsink thermal pad fills tiny gaps between a hot component and its heatsink. These gaps often come from uneven metal surfaces. Without a pad, trapped air can reduce heat transfer. In practical testing, even a thin, poorly fitted layer may raise surface temperatures noticeably. Thermal pads also simplify assembly when liquid paste would be messy or difficult to control.

Choosing the right pad requires more than checking thickness. Measure the actual gap first. A pad that is too thin may not touch both surfaces. One that is too thick can reduce pressure and interfere with mounting. Check thermal conductivity, but do not treat the highest number as the only answer. Compression, softness, electrical insulation, and long-term stability also matter. A soft pad may conform well, yet it can slowly deform under pressure. That part is easy to overlook.

Tips: Clean both surfaces before installation. Cut the pad slightly smaller than the contact area. Avoid stretching it. Check whether the component needs electrical insulation. If possible, measure temperatures before and after installation. My own fitting mistakes taught me this: perfect contact matters more than impressive specifications.

How to Install and Maintain a Thermal Pad

A heatsink thermal pad fills tiny air gaps between a hot component and its heatsink. Air transfers heat poorly, while a properly fitted pad improves contact and heat flow. Installation quality matters as much as pad thickness. A pad that is too thin may leave gaps. One that is too thick can create pressure and damage nearby parts.

Before installation, switch off and unplug the equipment. Remove the old pad carefully, then clean both surfaces with lint-free material and suitable isopropyl alcohol. Allow them to dry completely. Measure the gap instead of guessing. Cut the new pad with clean scissors, and avoid touching its surfaces. Remove every protective film. Position the pad once, because repeated lifting can trap dust or create wrinkles. Tighten heatsink screws gradually in a cross pattern.

Tips: Check the pad’s thickness, temperature rating, and compression range. Do not stretch it. A slightly uneven cut may still work, but it deserves inspection.

During maintenance, watch for rising temperatures, unstable performance, or a loose heatsink. These signs can indicate compression loss or poor contact. Inspect the pad during scheduled servicing, especially after repeated heating and cooling cycles. Replace it if it is torn, hardened, contaminated, or visibly displaced. My own bench checks have shown that a clean surface often matters more than a perfect-looking cut. I still sometimes overlook trapped dust, so a final flashlight inspection is worthwhile. Record the pad thickness and installation date for more reliable future servicing.

Why Use a Heatsink Thermal Pad? How to Install and Maintain One

Thermal pads fill microscopic air gaps between a heat-generating component and its heatsink, improving heat transfer while providing electrical insulation and tolerance for uneven surfaces. The chart compares representative thermal conductivity values for common thermal interface material categories. Higher conductivity can improve heat dissipation, but correct thickness, even compression, clean surfaces, and periodic inspection are also essential.

Let's Build Together

Contact Us: Call 435-563-3503

-OR-  Fill in the form below and we will call you back.

Copyright © 2025CNC Fabrication. All Rights Reserved.