7 Tips for Choosing Heat Resisting Waterproof Rubber Tape
Choosing the right Heat Resisting Waterproof Rubber Tape requires more than checking a temperature number.
The global adhesive tapes market was valued at approximately USD 85.9 billion in 2023, according to Grand View Research. Its report projects continued growth through 2030. MarketsandMarkets also identifies rising demand for durable bonding, electrical insulation, and protective sealing across industrial applications. These figures show strong demand, but they do not make every tape suitable for every surface.
As polymer scientist Dr. James E. Mark stated, “The properties of rubber are determined by its molecular structure.” That principle matters in real conditions. A tape may remain flexible beside a warm engine, yet fail under oil, vibration, or outdoor moisture. Product appearance can mislead.
Small details matter.
This guide presents seven practical tips for choosing Heat Resisting Waterproof Rubber Tape. It examines temperature ratings, adhesive chemistry, substrate compatibility, water resistance, thickness, flexibility, and test evidence. Look beyond marketing language. “Heat resistant” may describe short exposure, not continuous service. “Waterproof” may not mean chemical-proof.
A reliable selection process should compare technical data sheets, test methods, and installation conditions. Check whether the rating reflects actual temperatures, pressure, movement, and exposure time. ASTM and ISO references can improve confidence, but they still require careful interpretation.
Some recommendations remain imperfect. Laboratory tests cannot reproduce every workshop, roof, pipe, or vehicle environment. That limitation deserves attention. The best choice balances verified performance, practical installation, and the cost of failure.
What Heat-Resistant Waterproof Rubber Tape Is and How It Works
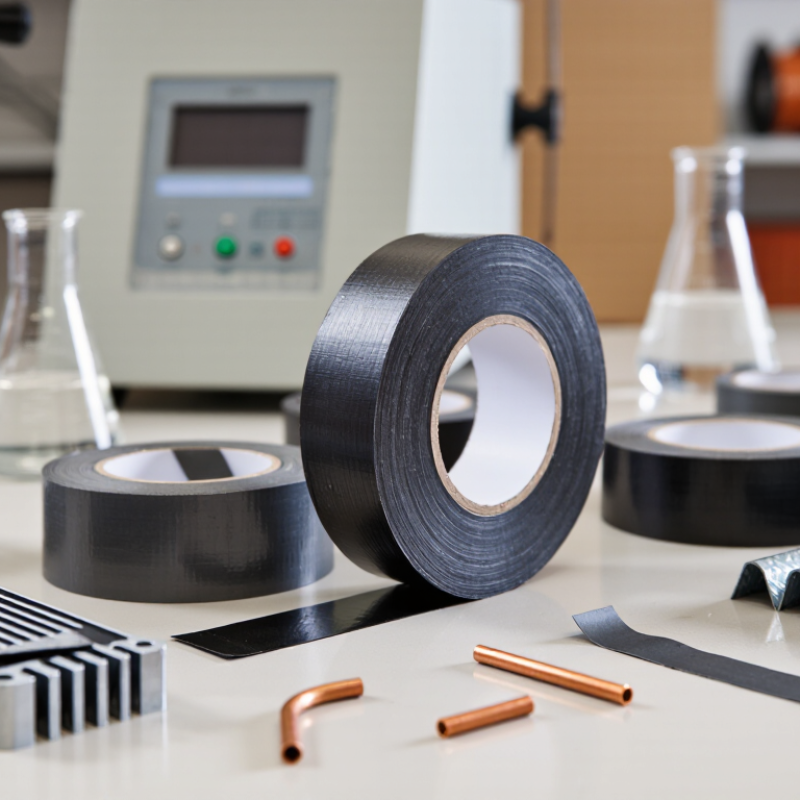
Heat-resistant waterproof rubber tape is a flexible sealing material designed for demanding environments. It often uses silicone, butyl rubber, or another elastic compound. Some types bond to themselves, while others rely on pressure-sensitive adhesive. This difference matters. Self-fusing tape forms a tight rubber layer when stretched and overlapped. Adhesive tape sticks directly to the surface. It is not magic.
The tape’s heat resistance depends on its rubber compound, adhesive, thickness, and exposure time. Check the published temperature range, not only the word “heat-resistant.” Consider seven practical points: maximum temperature, water exposure, surface material, flexibility, tape width, application temperature, and chemical contact. A rough metal edge may need preparation first. Dust and oil can weaken the seal. Test a small area before covering an important joint.
In real use, stretch self-fusing tape evenly and overlap each turn by about half its width. Press the final layer firmly. For waterproofing, keep the wrap smooth and avoid trapped air. I once assumed a thicker layer would always perform better. It did not. Excessive tension reduced coverage and created a weak edge. Allow the seal to settle before exposing it to heat or water. Inspect it later for lifting, cracks, or softening. A simple test often reveals more than confident advertising.
Key Performance Features to Check Before Buying
7 Tips for Choosing Heat Resisting Waterproof Rubber Tape
Key Performance Features to Check Before Buying
Temperature resistance should match the real working environment, not just the advertised maximum. Check both continuous and short-term temperature ratings. A tape may survive heat briefly but soften during daily exposure. That difference matters near engines, pipes, heaters, or outdoor electrical enclosures.
Waterproofing depends on more than rubber thickness. Look for a tight, flexible seal that resists rain, condensation, and water pressure. The adhesive or self-fusing layer must bond securely to clean metal, plastic, rubber, and cable jackets. Test a small area first. Dust and oil can ruin even excellent adhesion. Avoid products that provide impressive claims without test data or clear application limits.
Inspect elongation, tensile strength, and recovery after stretching. The tape should wrap uneven surfaces without splitting or leaving gaps. UV and ozone resistance are valuable for outdoor repairs, especially under direct sunlight. Check electrical insulation ratings when covering wires, and confirm flame performance where heat creates a serious hazard. Storage conditions also matter; old or overheated tape may feel dry and lose flexibility. No tape fits every situation. I would rather choose a slightly slower installation than trust an unverified rating. A careful peel test after curing can reveal weak bonding before the repair faces heat or water.
How to Choose the Right Size, Thickness, and Adhesive Strength
Choosing heat resisting waterproof rubber tape starts with measuring the repair area, not guessing from appearance. A narrow strip may cover a small wire joint, but it can leave edges exposed on a pipe. Allow enough width for an overlap of at least half the tape’s width. For irregular surfaces, wider tape usually conforms better. Measure twice.
Thickness affects protection and flexibility. Thin tape wraps neatly around cables and tight corners. Thicker tape offers better cushioning against abrasion, vibration, and moisture. However, excessive thickness can create uneven layers and poor sealing. Check the tape’s stated temperature range, waterproof rating, and recommended surface materials. These details matter more than a smooth product description.
Adhesive strength should match the surface and service conditions. Clean metal and rigid plastic usually need less aggressive adhesion than dusty, rough, or slightly flexible surfaces. Degrease the area, dry it completely, and press the tape firmly during application. I once applied tape in a cold workshop and assumed pressure alone would solve everything. It did not. The bond weakened overnight. Warm the tape within its approved range when possible, then test a small section first. For outdoor repairs, examine adhesion after heat, rain, and movement. A strong initial grip is useful, but long-term stability is the real test.
How to Test, Apply, and Maintain Rubber Tape Safely
7 Tips for Choosing Heat Resisting Waterproof Rubber Tape
Heat resistance is only one part of safe tape selection. ASTM D1000 evaluates adhesion, tensile strength, elongation, and dielectric breakdown. IEC 60454-3-1 also addresses pressure-sensitive adhesive tape performance. Request a test report showing temperature exposure, aging time, and substrate type. A tape rated at 120°C may perform differently on painted steel, wet copper, or rough plastic. Check the technical sheet carefully. Numbers need context.
Tip: Test a small area first. Clean the surface with a suitable solvent, then let it dry completely. Apply firm pressure across the tape, especially around corners and cable entries. I usually wait 24 hours before checking edge lift, bubbling, or moisture paths. This step feels slow. It often prevents rework. Do not stretch the tape excessively; uneven tension can create thin spots and weak seals.
Tip: Inspect the repair during maintenance rounds. Look for cracking, swelling, discoloration, or adhesive transfer. UL 510 testing is commonly referenced for insulating tape, but certification does not replace job-specific evaluation. Keep a simple record of installation date, surface condition, and operating temperature. Field conditions are rarely perfect. Condensation, vibration, and sharp edges can defeat a good product. If the tape softens or loses adhesion, isolate the equipment and reassess the material, application method, and temperature exposure.