How to Choose a Component Terminal Block?
Choosing a Component Terminal Block is a practical design decision, not a catalog exercise. The right choice affects wiring time, service access, and connection reliability inside a crowded panel. The International Energy Agency’s Electricity 2024 report forecasts global electricity demand growth averaging about 3.4% annually from 2024 through 2026. MarketsandMarkets, meanwhile, estimated the broader connector market at USD 84.5 billion in 2023, with projected growth to USD 106.5 billion by 2028. These figures describe wider electrical trends, not terminal blocks alone, but they show why dependable connection hardware deserves careful selection.
Start with the real installation. Check conductor type and cross-section, rated current and voltage, available mounting space, ambient temperature, and expected vibration. A block that fits the drawing may still obstruct a screwdriver or leave too little room for wire bending. Review the manufacturer’s datasheet for stripping length, torque, approvals, and compatible accessories. Then compare screw, spring, and push-in connections against maintenance needs and the skill level of the people wiring the panel. Small details matter.
This guide explains how to match a Component Terminal Block to its electrical, mechanical, and environmental demands. It also considers marking, testing access, and future expansion, because a neat panel today can become difficult to service later. No single connection style is best everywhere. And specifications can be misread. A current rating, for example, depends on defined test conditions and may change with conductor size or temperature. Treat catalog values as starting points, verify them against the application, and ask the manufacturer when details remain unclear. I would reconsider any choice made on price alone.
Understand the Function and Types of Component Terminal Blocks
How to Choose a Component Terminal Block?
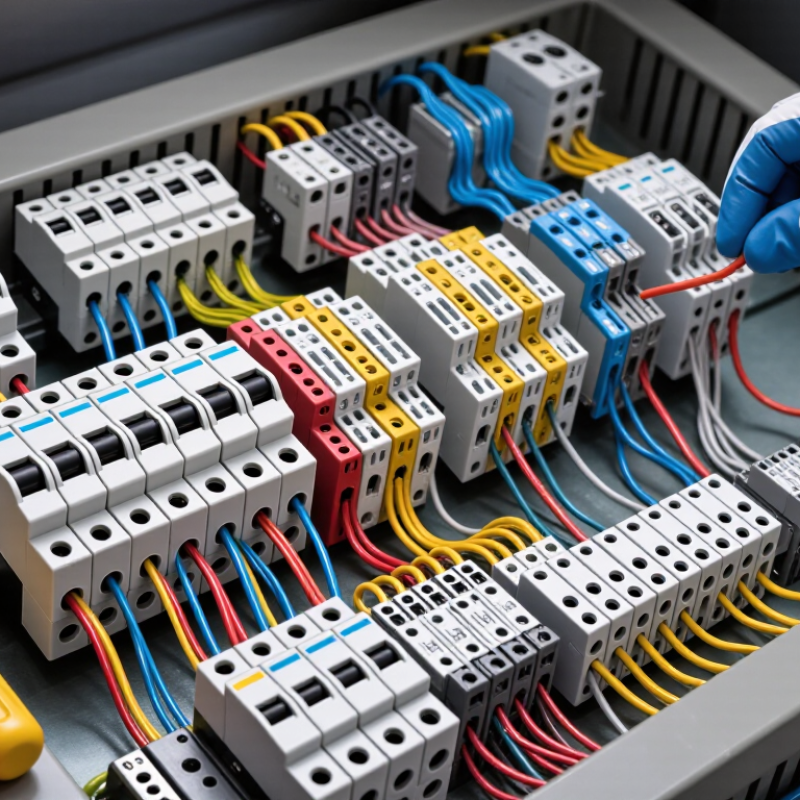
A component terminal block joins, distributes, or protects conductors inside a control cabinet. Feed-through blocks connect wires in a straight path; grounding blocks bond protective conductors to the panel rail. Disconnect blocks let technicians isolate a circuit, while fused blocks add overcurrent protection. Multi-level blocks save rail space, but can make wiring harder to inspect. There is no perfect type. Choose by circuit function before comparing connection styles, such as screw-clamp or spring-clamp designs. Check the conductor range, strand type, and whether the wire needs a ferrule.
Rated voltage and current must suit the circuit, enclosure temperature, and expected fault conditions. IEC 60947-7-1:2009 covers terminal blocks for copper conductors rated up to 1,000 V AC or 1,500 V DC. Those are standard scope limits, not proof that any individual block is suitable for your installation. Check the manufacturer’s ratings and test documentation. In a vibrating cabinet, a spring-clamp connection may resist loosening; where frequent rewiring is expected, a disconnect type can simplify maintenance. One common design miss is choosing by terminal pitch alone. A block that fits the rail may still crowd adjacent wires, obscure labels, or leave too little room for a screwdriver. A full wiring mock-up can expose that problem early.
Identify Circuit Requirements and Environmental Conditions
Before selecting a component terminal block, map the circuit’s actual demands. Record the system voltage, expected current, number of conductors, and required poles. Check the wire gauge and conductor type, too. A block rated for the circuit’s nominal current may still be unsuitable if several terminals carry sustained loads in a warm enclosure. Follow the manufacturer’s rating conditions, including any derating guidance.
Consider where the block will operate. A cabinet beside a motor may experience heat and vibration, while equipment near washdown areas may face moisture or cleaning chemicals. Compare the block’s temperature range and material compatibility with measured or expected conditions. Check whether the enclosure provides adequate protection; the terminal block alone may not resist dust or water. Small details matter.
Installation conditions deserve attention as well. Confirm there is room for the specified wire-bending radius, tool access, and insulation clearance. Loose connections can create heat, so follow the stated stripping length and tightening method. I have seen a neat wiring plan become awkward once the enclosure door and neighboring cables were in place. Recheck the layout against the real mounting space, not just the drawing. If conditions or ratings are unclear, verify them with the equipment documentation before choosing a part.
Check Mounting Compatibility, Dimensions, and Wiring Access
Start with the mounting interface, not the catalog photo. Confirm whether the block fits a DIN rail, panel cutout, or PCB footprint, then verify the rail profile and fastening method. A small width mismatch can shift end stops or misalign wire ducts. Measure twice. Compare pitch, height, and depth with the enclosure drawing, including cover clearance and neighboring devices. Leave room for the conductor’s bend, not just the block body. One detail is easy to miss: a drawing may not show how tightly a duct crowds the screw terminals.
Then check wiring access with the actual screwdriver and wire gauge. Can an installer insert the conductor, tighten the clamp, and reach any test opening without moving adjacent parts? Check the specified strip length, conductor range, and torque, where applicable. The U.S. Bureau of Labor Statistics recorded 145 fatal work injuries involving exposure to electricity in 2022, in its Census of Fatal Occupational Injuries. That broad figure does not identify terminal blocks as a cause, but it underscores why connection work deserves careful planning. A practical check is to mock up one block beside the duct and cover. It takes a little time, and can reveal a pinch point that the drawing missed.
Verify Safety Standards, Material Quality, and Maintenance Needs
How to Choose a Component Terminal Block?
Verify Safety Standards, Material Quality, and Maintenance Needs
Start with the electrical conditions, not the block’s size or appearance. Check its rated voltage, current, wire range, and temperature limits against the equipment’s actual operating conditions. Verify that applicable safety standards and certification requirements fit the product’s intended market and application. A certification mark alone is not enough; review the datasheet and confirm the exact model is covered. Check the label carefully.
Material quality affects performance over time. Look for a housing with a suitable flame and temperature rating, plus conductive parts designed to resist corrosion. The clamp should hold the specified wire securely without damaging its strands. It is easy to overvalue a neat catalog photo; that tells little about connection stability after repeated servicing. Installation details matter, and I may be overlooking conditions such as vibration or heat cycling that change what “durable” means.
Consider maintenance before choosing a design. In dusty or vibrating equipment, access for inspection and retightening may matter as much as compact dimensions. Follow the manufacturer’s instructions for conductor preparation and tightening torque; guessing can loosen a connection or damage the clamp. Check whether replacement parts are available and whether technicians can identify circuits clearly. A block that is difficult to inspect may save space today but cost time during a later repair.
How to Choose a Component Terminal Block
Verify applicable safety standards, material ratings, and maintenance requirements. The chart summarizes IEC 60529 solid-object protection probe dimensions for IP code digits 1–4.
The values show the probe or object dimension associated with each protection level; they are not terminal-block dimensions. IP code digits 5 and 6 address dust protection and are not represented by a single probe-size value. Confirm the IP rating of the complete enclosure assembly, check terminal block material and electrical ratings against the application, and follow the manufacturer’s inspection and maintenance instructions.